My first ArupCompute python library
For our very first ArupCompute function we are going to write a super exciting function that ... adds two numbers together🎉
Creating the repository and writing our first function
First create a new folder somewhere on your local computer for your library, and then open it up in VS Code.
I have created a folder called Repos in my Documents folder for all of my programming projects.
It is advised not to create these folders on a OneDrive. The reason for this is that during programming we can create many small files that OneDrive struggles to index. To manage our code repositories we use Git, but advice on how to use it is outside of the scope of this tutorial. A good starting point to learn more is this guide from the DesignCheck docs.
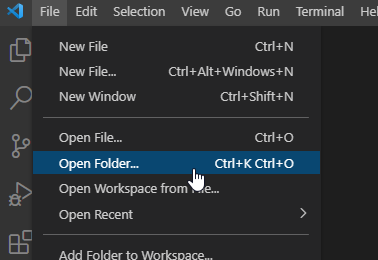
Create a new environment for your project, and activate it.
Create a new python file, with the name of your library e.g. your_lib_name.py
The entry file name (your_lib_name.py in this example) will determine how your functions are prefixed in Excel, so choose this carefully. As this file name is used to prefix Excel formulas we must avoid any special characters. Only use letters, numbers and underscores.
For example if you have a function called 'add' in your library it will be accessed as your_lib_name.add.
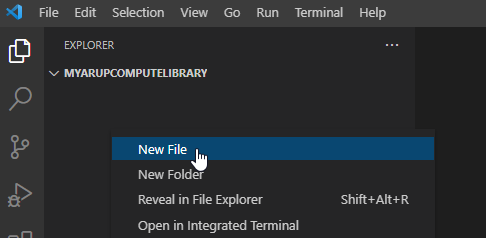

Enter the below code to define our exciting function
def add(a, b):
    x = a + b
    return x
Test that the function is working by opening the python REPL, use ctrl + shift + p to open up the command palette and use the Python: Start REPL command
When the terminal has loaded enter the command import your_lib_name and press enter
Then use the command your_lib_name.add(1,2), the expected output should be 3
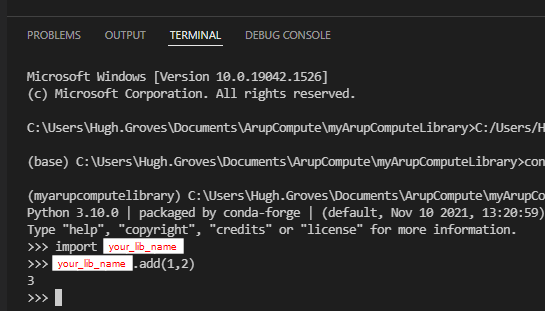
Congratulations, you have now written all of the code needed to define your first ever ArupCompute library!
Our function works as expected, so now we can move on to uploading it to ArupCompute.
Upload to ArupCompute
Create a zip folder that contains the your_lib_name.py file
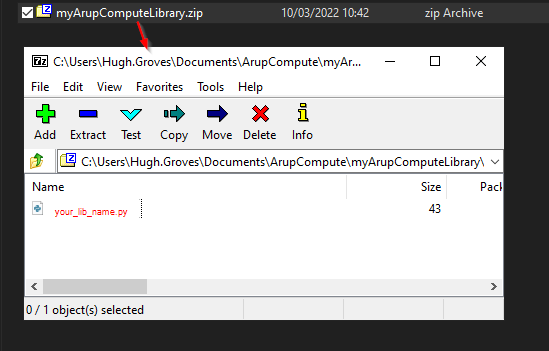
Navigate to the ArupCompute libraries page and click the Add New Library button
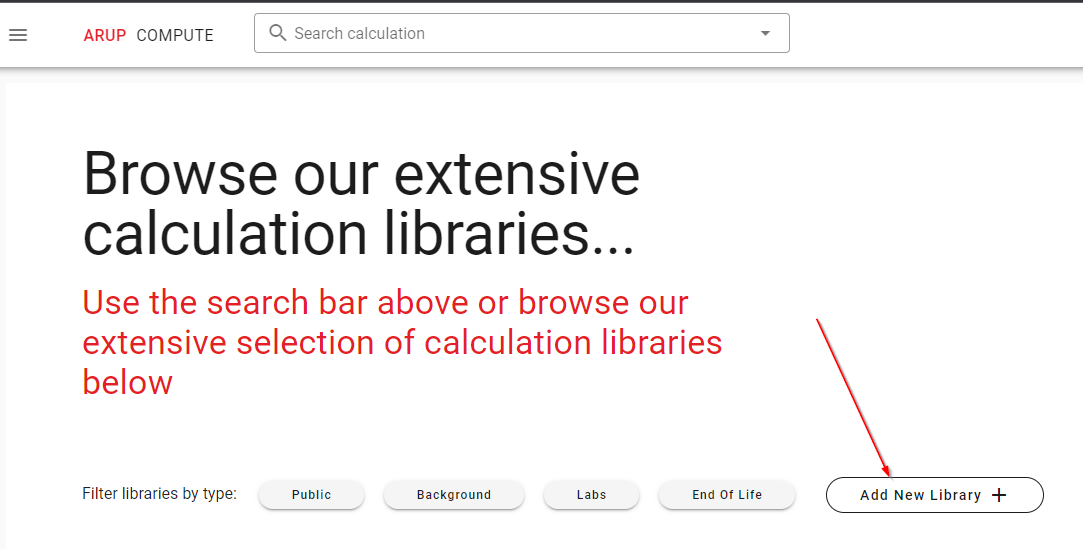
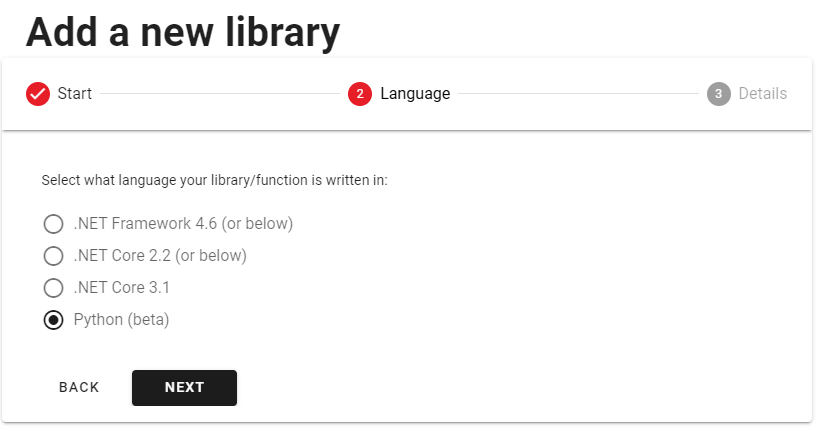
Skip past the first page of the form, then on the second select Python as the language
On the third page fill in the fields as prompted by the tooltips, and upload your zip file using the 'browse' button
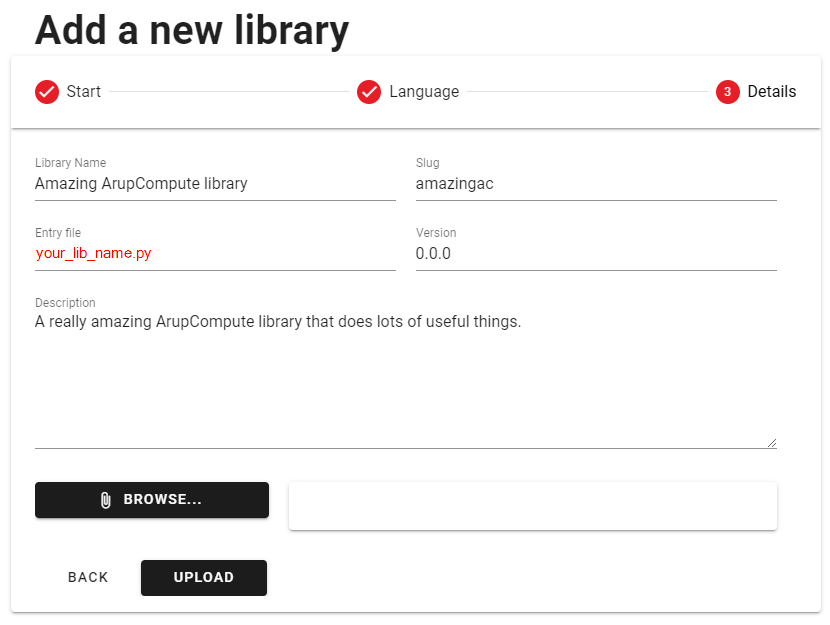
When satisfied press 'upload', around 30 minutes later your new library will be live
Many of the properties in this form cannot be changed after upload, so make sure your happy with what you have entered!
If after 30 minutes you cannot find your library reach out to us on the ArupCompute Teams.
Trialling your new library
Your new library will be found in the Labs section of ArupCompute.
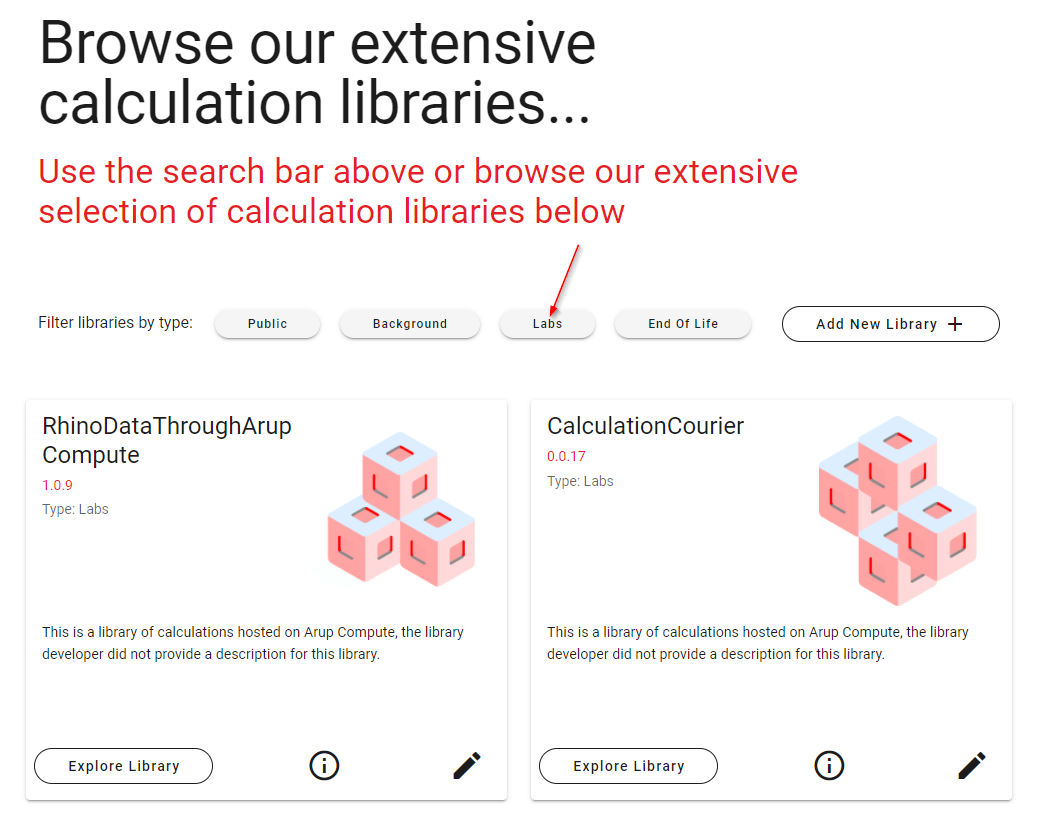
Find your library, press Explore library and you will be presented with a screen that looks like this:

Click into your function, enter some values, press Calculate and shortly afterwards you should see the results. You have just run your first python function in the cloud!
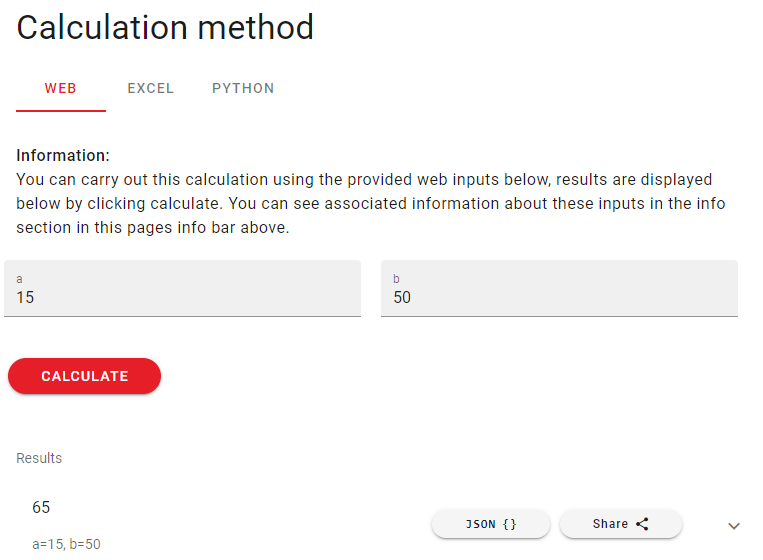
Now, whilst this works its a little bit plain. There is no information to describe the calculation, or tooltips explaining what the inputs are. We can fix this in the next section.